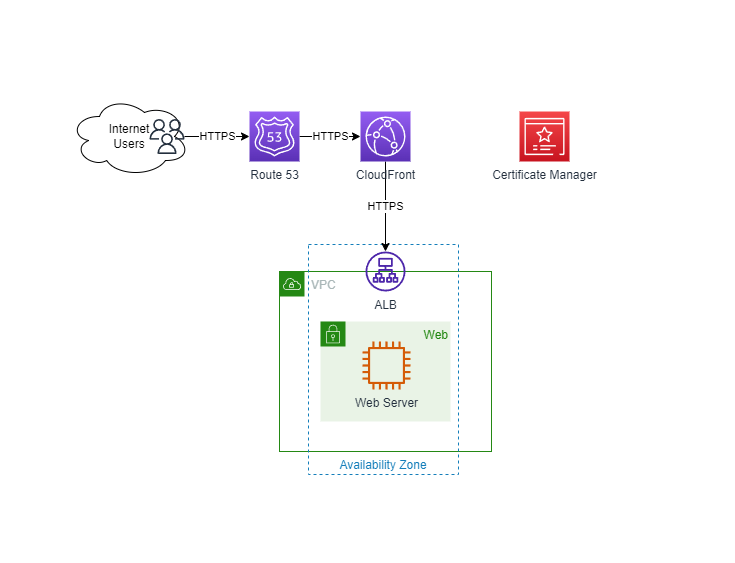
Here we bring the previous hosting one step further, and using HTTPS instead of HTTP. The design is as follow:
User -> Route 53 -> CloudFront -> ALB (SSL offloading) -> Target Group -> IIS hosted Webpage
How the traffic looks is as follow:
Architecture Image Here
1. Get a domain name.
Then set up a windows EC2 as webserver using IIS
2. Create a Windows EC2 (I used windows 2019 for this example).
3. Go to server manager > Manage > Add Roles and Features , then click next 3 times.
4. Select Web Server IIS in Server Roles, then click Add Features.
5. Wait for the Configuration to complete.
6. Add in all the html related files in a particular directory, default is somewhere in C:\inetpub\XXXX.
7. Go to IIS Manager, right click on Sites and click Add Website. Site Name use your domain name, physical path put the path of where html files located and just create.
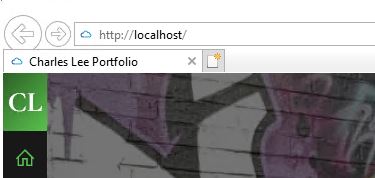
8. enter url "localhost" in IE to check the webpage is loading locally. If it's using the default path, just edit the binding or delete the default webpage in IIS Manager.
Next to set up Route 53 (required to verify Amazon issued cert.
9. Create Route 53 public hosted zone, edit the NS record into the registrar.
10. Go to certificate Manager (N.Virginia region) then request a certificate.
11. Enter your domain name that you owned in the requesting certificate page.
12. Click the CNAME record to route 53 (to verify you own the domain)
13. Verify that the certificate have status "issued".
14. Repeat step 10-13 again in the region where your Load Balancer is located.
Next to set up the Application load balancer, target group
15. Create target group, add in target group of web server in the backend, protocol:Port is HTTP:80 and backend register the web server.
16. Go to load balancer created, Add listener, protocol is HTTPS:443, SSL/TLS certificate choose the one you created above.
Next to set up CloudFront Distribution and connect to route 53
17. Create new CloudFront Distribution with the following options.
- Origin Domain choose your Application Load Balancer.
- Protocol HTTPS only.
- Viewer protocol policy choose "Redirect HTTP to HTTPS".
- Cache policy choose Cache policy: CachingDisabled.
- Origin request policy choose AllViewer.
- WAF disable or enable base on your requirement.
- Custom SSL certificate choose the one for your domain.
- Default root object can put "index.html".
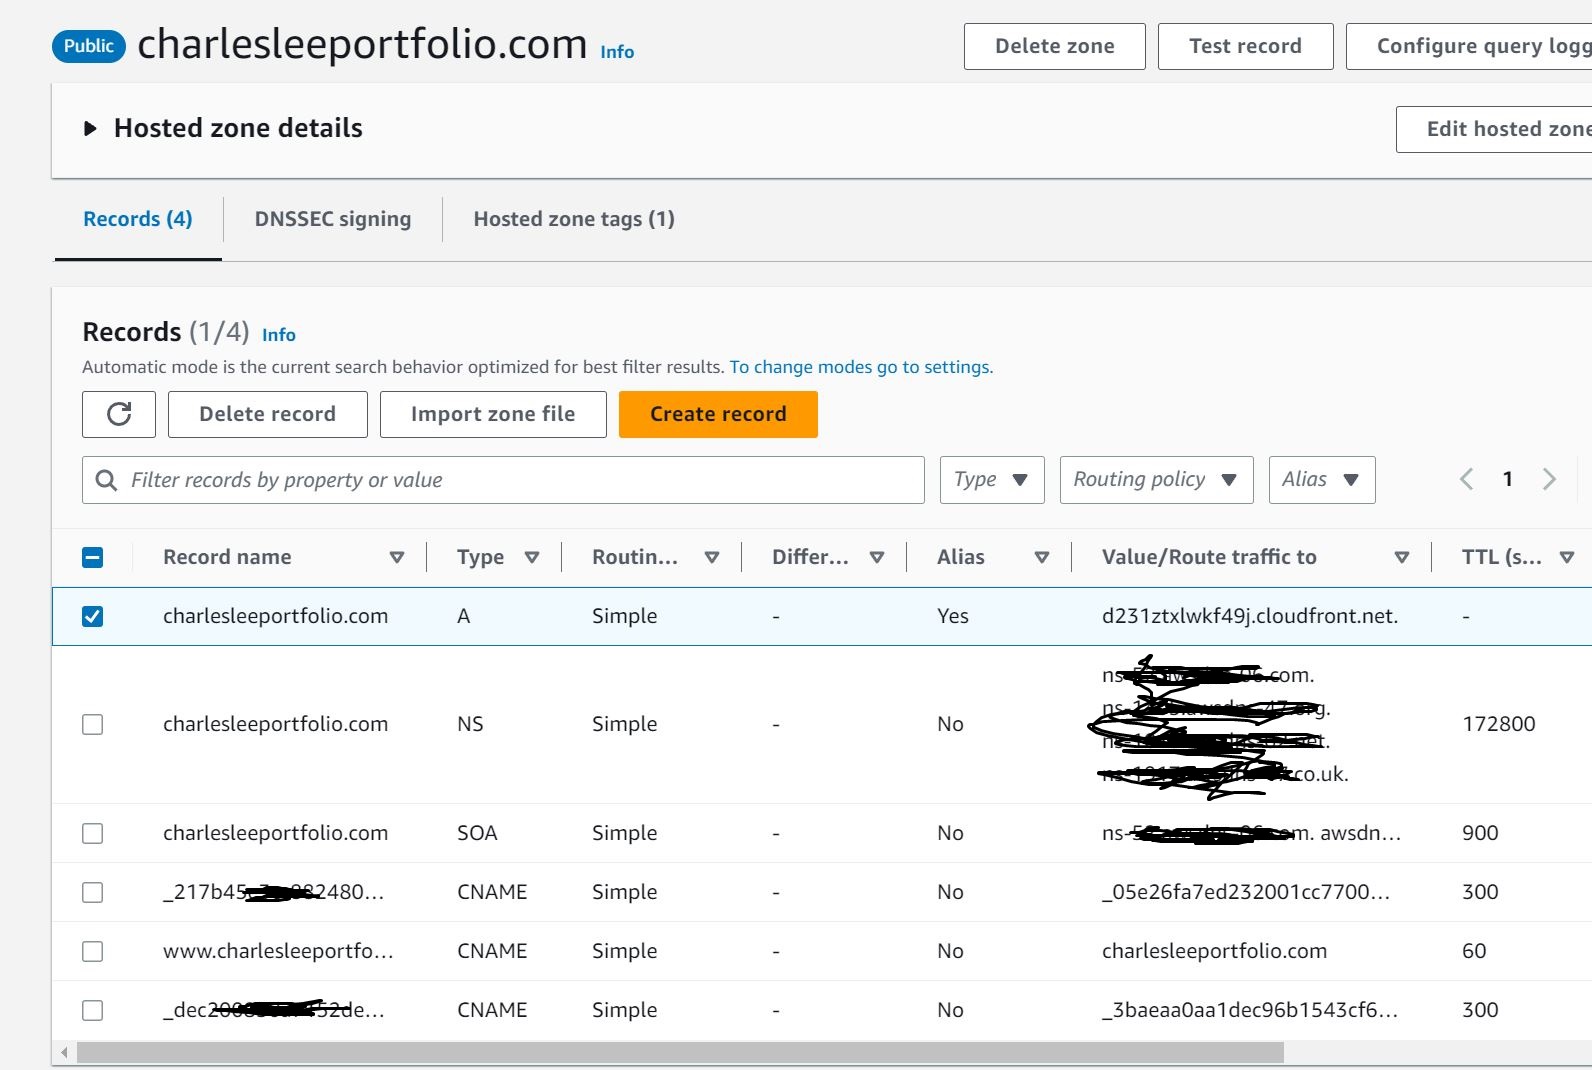
18. Once CloudFront provisioned, copy the Distribution domain name.19. Go to Route 53 to add in A record Alias routing traffic to Cloudfront distribution.
20. Add a CNAME record to redirect www.yourwebsite.com to yourwebsite.com on Route 53.
Final result in the route53 should look something similar:And that concludes the HTTPS website hosting.
Route53 Image Here
Using Lambda to automatically update Security group with CloudFront IPs. [Tested Working]
Link HERE